")
The puff pastry, a beacon of culinary finesse, is a delicate confection that has taken its sweet time to rise to prominence in the dessert aisles of my homeland. Once a rare find, it now basks in the limelight, thanks to a few trailblazing patisseries that have inspired a nationwide embrace. Today, the puff pastry is an omnipresent delight, its presence gracing the counters of virtually every Western pastry shop.
The allure of the puff pastry lies in its crisp exterior, a shell that cradles a myriad of sweet fillings only moments before consumption. This meticulous timing ensures that the pastry retains its signature crunch, for a premature filling would render it soggy, robbing it of its textural contrast. The finest establishments take pride in this practice, filling their pastries fresh as patrons await, thus preserving the optimal eating experience. Regrettably, convenience often trumps quality, with many shops pre-filling their pastries, leading to a dampened experience upon purchase. This misstep has skewed public perception, with the authentic, crisp puff pastry now viewed as an anomaly.
My fondness for puff pastries is not only rooted in their buttery, flaky exterior but also in the boundless possibilities they hold within. From classic pastry cream to rich chocolate ganache and whipped cream, to even a scoop of refreshing ice cream, the fillings are limited only by one’s creativity. And let’s not overlook the garnishes—chocolate drizzle, powdered sugar, or nuts can add an extra layer of texture and flavor, elevating the humble puff to a symphony of tastes and sensations.
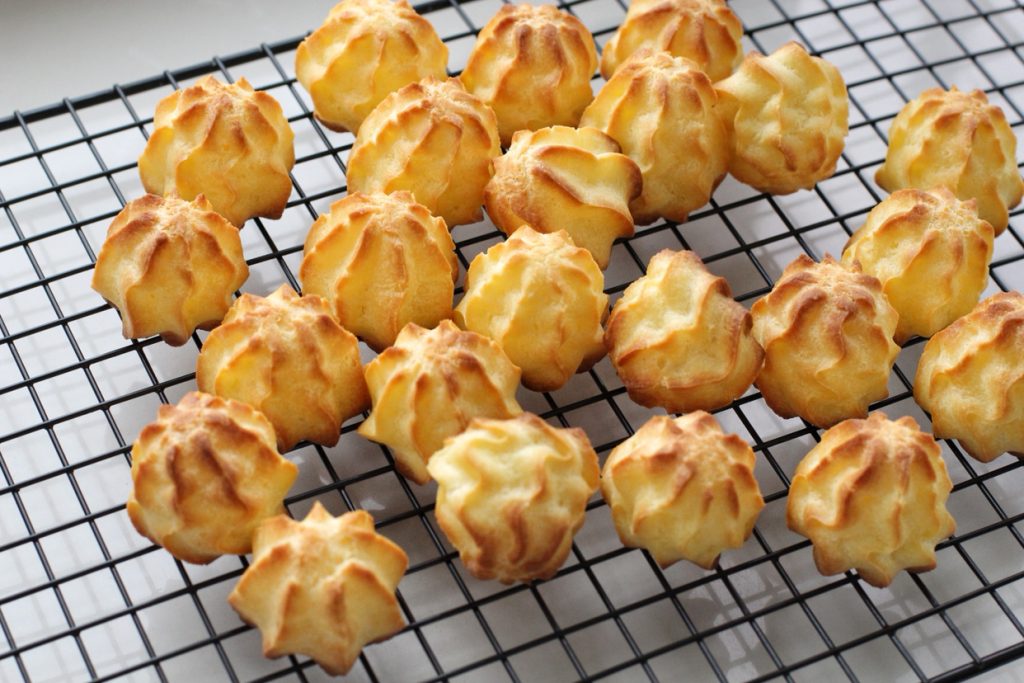
Achieving the perfect puff pastry is a delicate dance of flavor and form. The ideal choux should rise proudly, its shell crisp and golden, encasing a generous void begging to be filled with luscious cream or other delights.
When baking at home, the paramount question remains: How does one ensure the pastry puffs up to its full potential?
Baking Instructions:
Preheat your oven to 210°C (410°F) and bake in the middle rack for 10-15 minutes until the pastries puff up and set. Then, reduce the temperature to 180°C (356°F) and continue baking for 20-30 minutes until they achieve a golden-brown hue. Ensure thorough baking, as underbaked pastries may collapse post-oven.
Ingredients:
- Low-gluten flour: 100 grams
- Water: 160 grams
- Butter: 80 grams
- Sugar: 1 teaspoon
- Salt: 1/2 teaspoon
- Eggs: 3
The Path to Puff Perfection:
- Combine water, salt, sugar, and butter (or salad oil) in a pot over medium heat. Stir until the mixture boils, then reduce the heat and add the flour all at once.
- Stir vigorously with a wooden spoon (or a bundle of chopsticks for smaller batches) until the mixture forms a dough that pulls away from the sides of the pot.
- Remove from heat and let the dough cool slightly. When it’s warm to the touch (60-65°C), begin to incorporate the eggs, adding them gradually until the dough reaches the right consistency.
- The dough should form a triangle when lifted with a spoon or chopsticks, with the tip hanging about 4cm down without drooping—this is when you know it’s ready.
A Few Tips:
The secret to a well-puffed pastry lies in understanding the science behind it. The starch in the flour must be cooked to absorb moisture and trap air. During baking, this moisture turns into steam, creating pressure that puffs the pastry. Hence, adequate moisture is crucial for the puffing process. The dough’s moisture level is a delicate balance; too wet, and the pastry won’t hold its shape, too dry, and it won’t puff significantly. Lastly, the baking temperature and duration are vital. Start high to generate steam quickly, then lower to dry out the pastry, ensuring it doesn’t collapse after baking.
Master these three keys, and your journey from puff pastry novice to a choux connoisseur will be a triumphant one.