
Brining shrimp is a culinary technique used to enhance flavor, texture, and juiciness. Whether you’re preparing shrimp for grilling, sautéing, or any other cooking method, brining can make a significant difference in the final dish. This extensive guide will explore everything you need to know about brining shrimp, from the science behind it to detailed step-by-step instructions and troubleshooting tips.
1. Understanding Brining
What is Brining?
Brining is a process of soaking food in a saltwater solution before cooking. This technique is commonly used for meats, seafood, and vegetables to improve flavor and moisture retention.
Why Brine Shrimp?
- Flavor Enhancement: The salt in the brine penetrates the shrimp, enhancing its natural flavor and allowing it to absorb additional seasonings.
- Texture Improvement: Brining helps maintain a firm and juicy texture by preventing the shrimp from becoming dry during cooking.
- Moisture Retention: The brine solution helps shrimp retain moisture, making them less likely to become tough or rubbery.
The Science Behind Brining
- Osmosis: Saltwater solution causes water to move in and out of the shrimp cells. Initially, the shrimp absorbs some saltwater, which helps in flavor enhancement and moisture retention.
- Protein Structure: The salt in the brine interacts with the proteins in the shrimp, leading to a tenderizing effect.
2. Preparing the Brine Solution
Basic Brine Recipe
- Ingredients:
- 1/4 cup salt (kosher salt or sea salt preferred)
- 1/4 cup sugar (optional, for added sweetness)
- 2 cups cold water
- Instructions:
- Dissolve Salt and Sugar: In a bowl, dissolve the salt and sugar in the cold water, stirring until fully dissolved.
- Cool the Brine: If you heated the water to dissolve the salt and sugar, let it cool to room temperature before using.
Variations and Add-Ins
- Herbs and Spices: Enhance the brine with garlic, bay leaves, black peppercorns, or fresh herbs like rosemary and thyme.
- Citrus: Add lemon or lime zest for a zesty twist.
- Aromatics: Consider adding sliced onions, celery, or a splash of vinegar for additional depth of flavor.
How to Adjust the Brine
- For Larger Quantities: Scale up the brine recipe proportionally based on the amount of shrimp you’re brining.
- For Different Flavor Profiles: Modify the salt and sugar levels according to personal taste or the specific dish you’re preparing.
3. Brining Techniques
1. Basic Brining Method
How to Brine Shrimp:
- Prepare the Brine: Mix salt, sugar, and any additional flavorings in cold water.
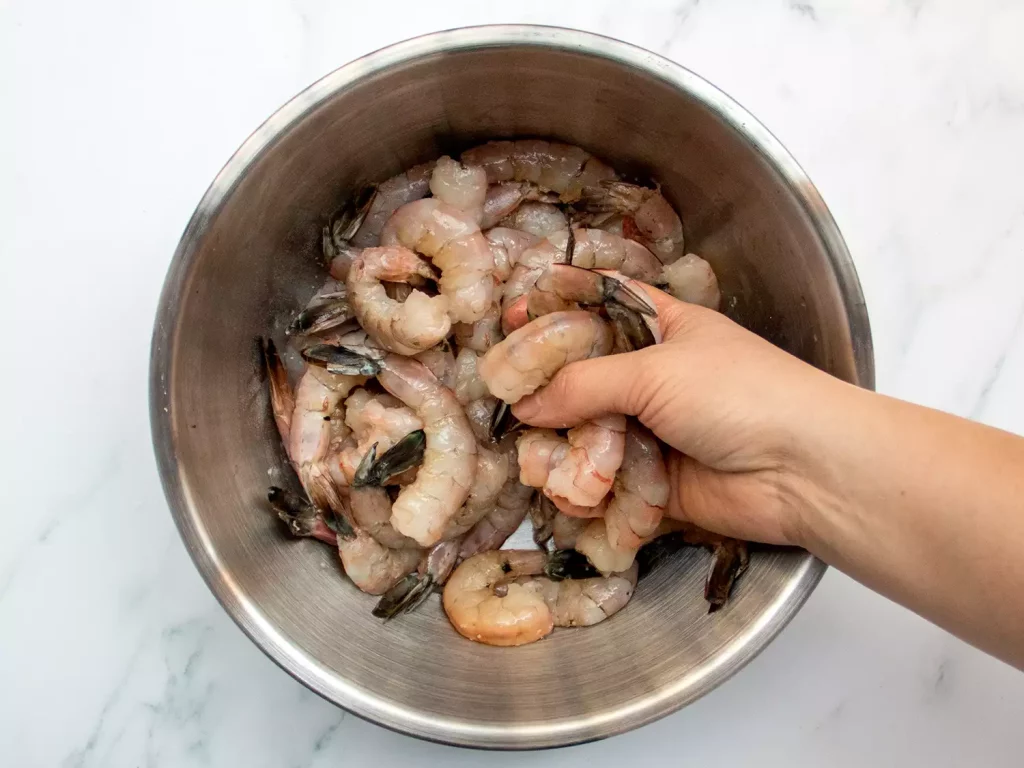
- Add Shrimp: Place peeled and deveined shrimp in the brine solution. Ensure they are fully submerged.
- Brine Time: Allow shrimp to brine for 15-30 minutes. Avoid over-brining, which can lead to overly salty shrimp.
Tips:
- Use a Bowl or Container: Use a non-reactive container such as glass or plastic. Avoid metal containers, which can react with the brine.
- Stir Occasionally: For even brining, stir the shrimp occasionally to ensure all are coated.
2. Quick Brining Method
For a faster brining process:
- Prepare the Brine: Follow the basic recipe but use warm water to dissolve the salt and sugar more quickly.
- Cool the Brine: Let the brine cool before adding the shrimp.
- Brine Time: Brine shrimp for 10-15 minutes. This method is ideal when you’re short on time but still want to achieve good results.
3. Dry Brining Method
What is Dry Brining?
Dry brining involves seasoning shrimp with salt and other spices without using a liquid brine. This method can be used for a more concentrated flavor.
How to Dry Brine Shrimp:
- Season Shrimp: Sprinkle salt and any other desired seasonings directly onto the shrimp.
- Rest Time: Let the shrimp sit for 15-30 minutes. This allows the salt to draw out moisture and then reabsorb it along with the seasoning.
Tips:
- Use Kosher Salt: Kosher salt is recommended for even seasoning and easier control.
- Avoid Over-Salting: Be cautious with the amount of salt to avoid an overly salty taste.
4. Cooking Brined Shrimp
1. Grilling
How to Grill Brined Shrimp:
- Preheat Grill: Heat your grill to medium-high.
- Skewer Shrimp: Thread the shrimp onto skewers to make grilling easier.
- Grill Time: Grill for 2-3 minutes per side or until the shrimp turn pink and opaque.
Tips:
- Preheat Grill Grates: Ensure grill grates are hot before placing shrimp to prevent sticking.
- Avoid Overcooking: Shrimp cook quickly, so monitor them closely to avoid overcooking.
2. Sautéing
How to Sauté Brined Shrimp:
- Heat Pan: Heat a skillet over medium-high heat and add a small amount of oil or butter.
- Cook Shrimp: Add shrimp to the hot skillet. Cook for 2-3 minutes per side until fully cooked.
- Add Flavorings: Incorporate garlic, herbs, or sauces as desired during the cooking process.
Tips:
- Do Not Overcrowd: Cook shrimp in batches if necessary to ensure they cook evenly.
- Check Doneness: Shrimp are done when they turn pink and form a C-shape.
3. Baking
How to Bake Brined Shrimp:
- Preheat Oven: Preheat your oven to 400°F (200°C).
- Prepare Baking Sheet: Line a baking sheet with parchment paper or lightly grease it.
- Bake Shrimp: Spread shrimp in a single layer on the baking sheet. Bake for 8-10 minutes or until shrimp are pink and opaque.
Tips:
- Use a Rack: For crispier shrimp, place them on a wire rack set over the baking sheet.
- Add a Glaze: Brush with a glaze or sauce before baking for added flavor.
5. Storing and Using Brined Shrimp
1. Storing Leftovers
How to Store:
- Refrigerate: Store cooked brined shrimp in an airtight container in the refrigerator for up to 2 days.
- Freeze: For longer storage, freeze cooked shrimp. Place in a single layer on a baking sheet to freeze individually, then transfer to a freezer bag.
Tips:
- Label and Date: Clearly label and date containers to keep track of storage times.
- Avoid Freezer Burn: Ensure shrimp are well-sealed to prevent freezer burn.
2. Reheating Brined Shrimp
How to Reheat:
- Microwave: Reheat on a microwave-safe plate in short intervals, checking to avoid overcooking.
- Skillet: Reheat in a skillet over medium heat, stirring occasionally to ensure even warming.
Tips:
- Do Not Overheat: Reheat shrimp gently to prevent them from becoming tough.
6. Troubleshooting Common Issues
1. Over-Salted Shrimp
What It Is: Over-salted shrimp can result from brining too long or using too much salt.
How to Fix:
- Rinse Before Cooking: Rinse the shrimp briefly under cold water to remove excess salt.
- Adjust Brine: Use less salt in future brines or shorten the brining time.
2. Shrimp Too Watery
What It Is: Excess water can dilute flavors and affect texture.
How to Fix:
- Pat Dry: Before cooking, pat shrimp dry with paper towels to remove excess moisture.
- Adjust Brine Ratio: Ensure the brine solution is properly balanced and not overly diluted.
3. Uneven Brining
What It Is: Uneven brining occurs when some shrimp are saltier than others.
How to Fix:
- Stir Occasionally: Stir the shrimp occasionally to ensure even brining.
- Use a Container: Use a container that allows the shrimp to be fully submerged and evenly coated.
7. Creative Uses for Brined Shrimp
1. Shrimp Tacos
- Recipe Idea: Use brined shrimp as a filling for shrimp tacos. Top with fresh salsa, avocado, and a squeeze of lime.
2. Shrimp Scampi
- Recipe Idea: Sauté brined shrimp with garlic, butter, and white wine for a classic shrimp scampi.
3. Shrimp Stir-Fry
- Recipe Idea: Add brined shrimp to a vegetable stir-fry for a quick and flavorful meal.