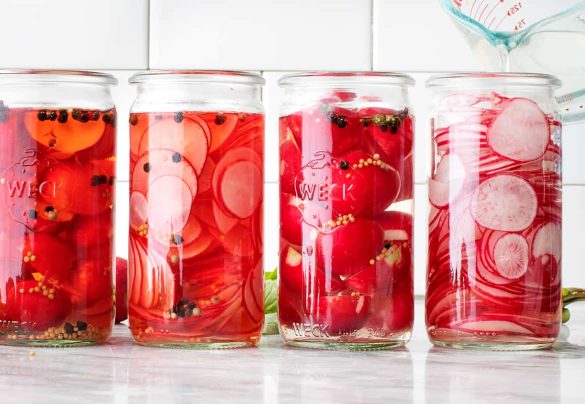
Introduction:
Reliving the Heirloom Pickle
“Crafting Nostalgia with Homemade Pickles”
Nothing encapsulates the essence of home like the tang of grandma’s pickled vegetables. While venturing away from home, that craving often emerges, poignant and persistent. This pickled radish recipe, simple yet flavorful, is a tribute to the timeless pickling craft. It is customizable, creating a concoction perfectly aligned with your taste buds, eclipsing any store-bought alternative that’s either excessively sweet or missing an indefinable something.
Ingredients:
Picking the Prime Pieces
“Chosen Flavors for a Personal Touch“
- 1 whole white radish
- 5 Thai bird’s eye chilies
- 200ml white vinegar
- 50g white granulated sugar
Method:
The Pickling Process
“Stages to Savory Success“

Step 1:
Pristine Preparation
Scrub the radish clean and peel it.
Step 2:
Slicing the Crunch
Slice the radish first into rounds, then into strips.
Step 3:
Adding Salt
Generously salt the radish strips and let them sit for 2 hours to draw out water, then drain.
Step 4:
Spicing Things Up
Toss in the bird’s eye chilies to the desalted radish.

Step 5:
Sweet and Sour Bath
Combine water, vinegar, and sugar, bring to a boil, then let it cool. Avoid using an iron pot due to the vinegar; a glass vessel is preferred.
Step 6:
Mix and Chill
In an appropriate container, mix the radish, chilies, and the cooled vinegar solution. Refrigerate or store at room temperature. Your pickles will be ready to indulge in the next day.
Pickling Tips:
Personalizing Your Palette
Choose the duration of salting based on your crunch preference. For a sweeter touch, add more sugar; amplify the heat with more chilies; extend the pickling time for a tangier taste. At a room temperature of around 20°C, you may let the mixture sit out without refrigeration. Enjoy the custom tang tailored to your cravings.

